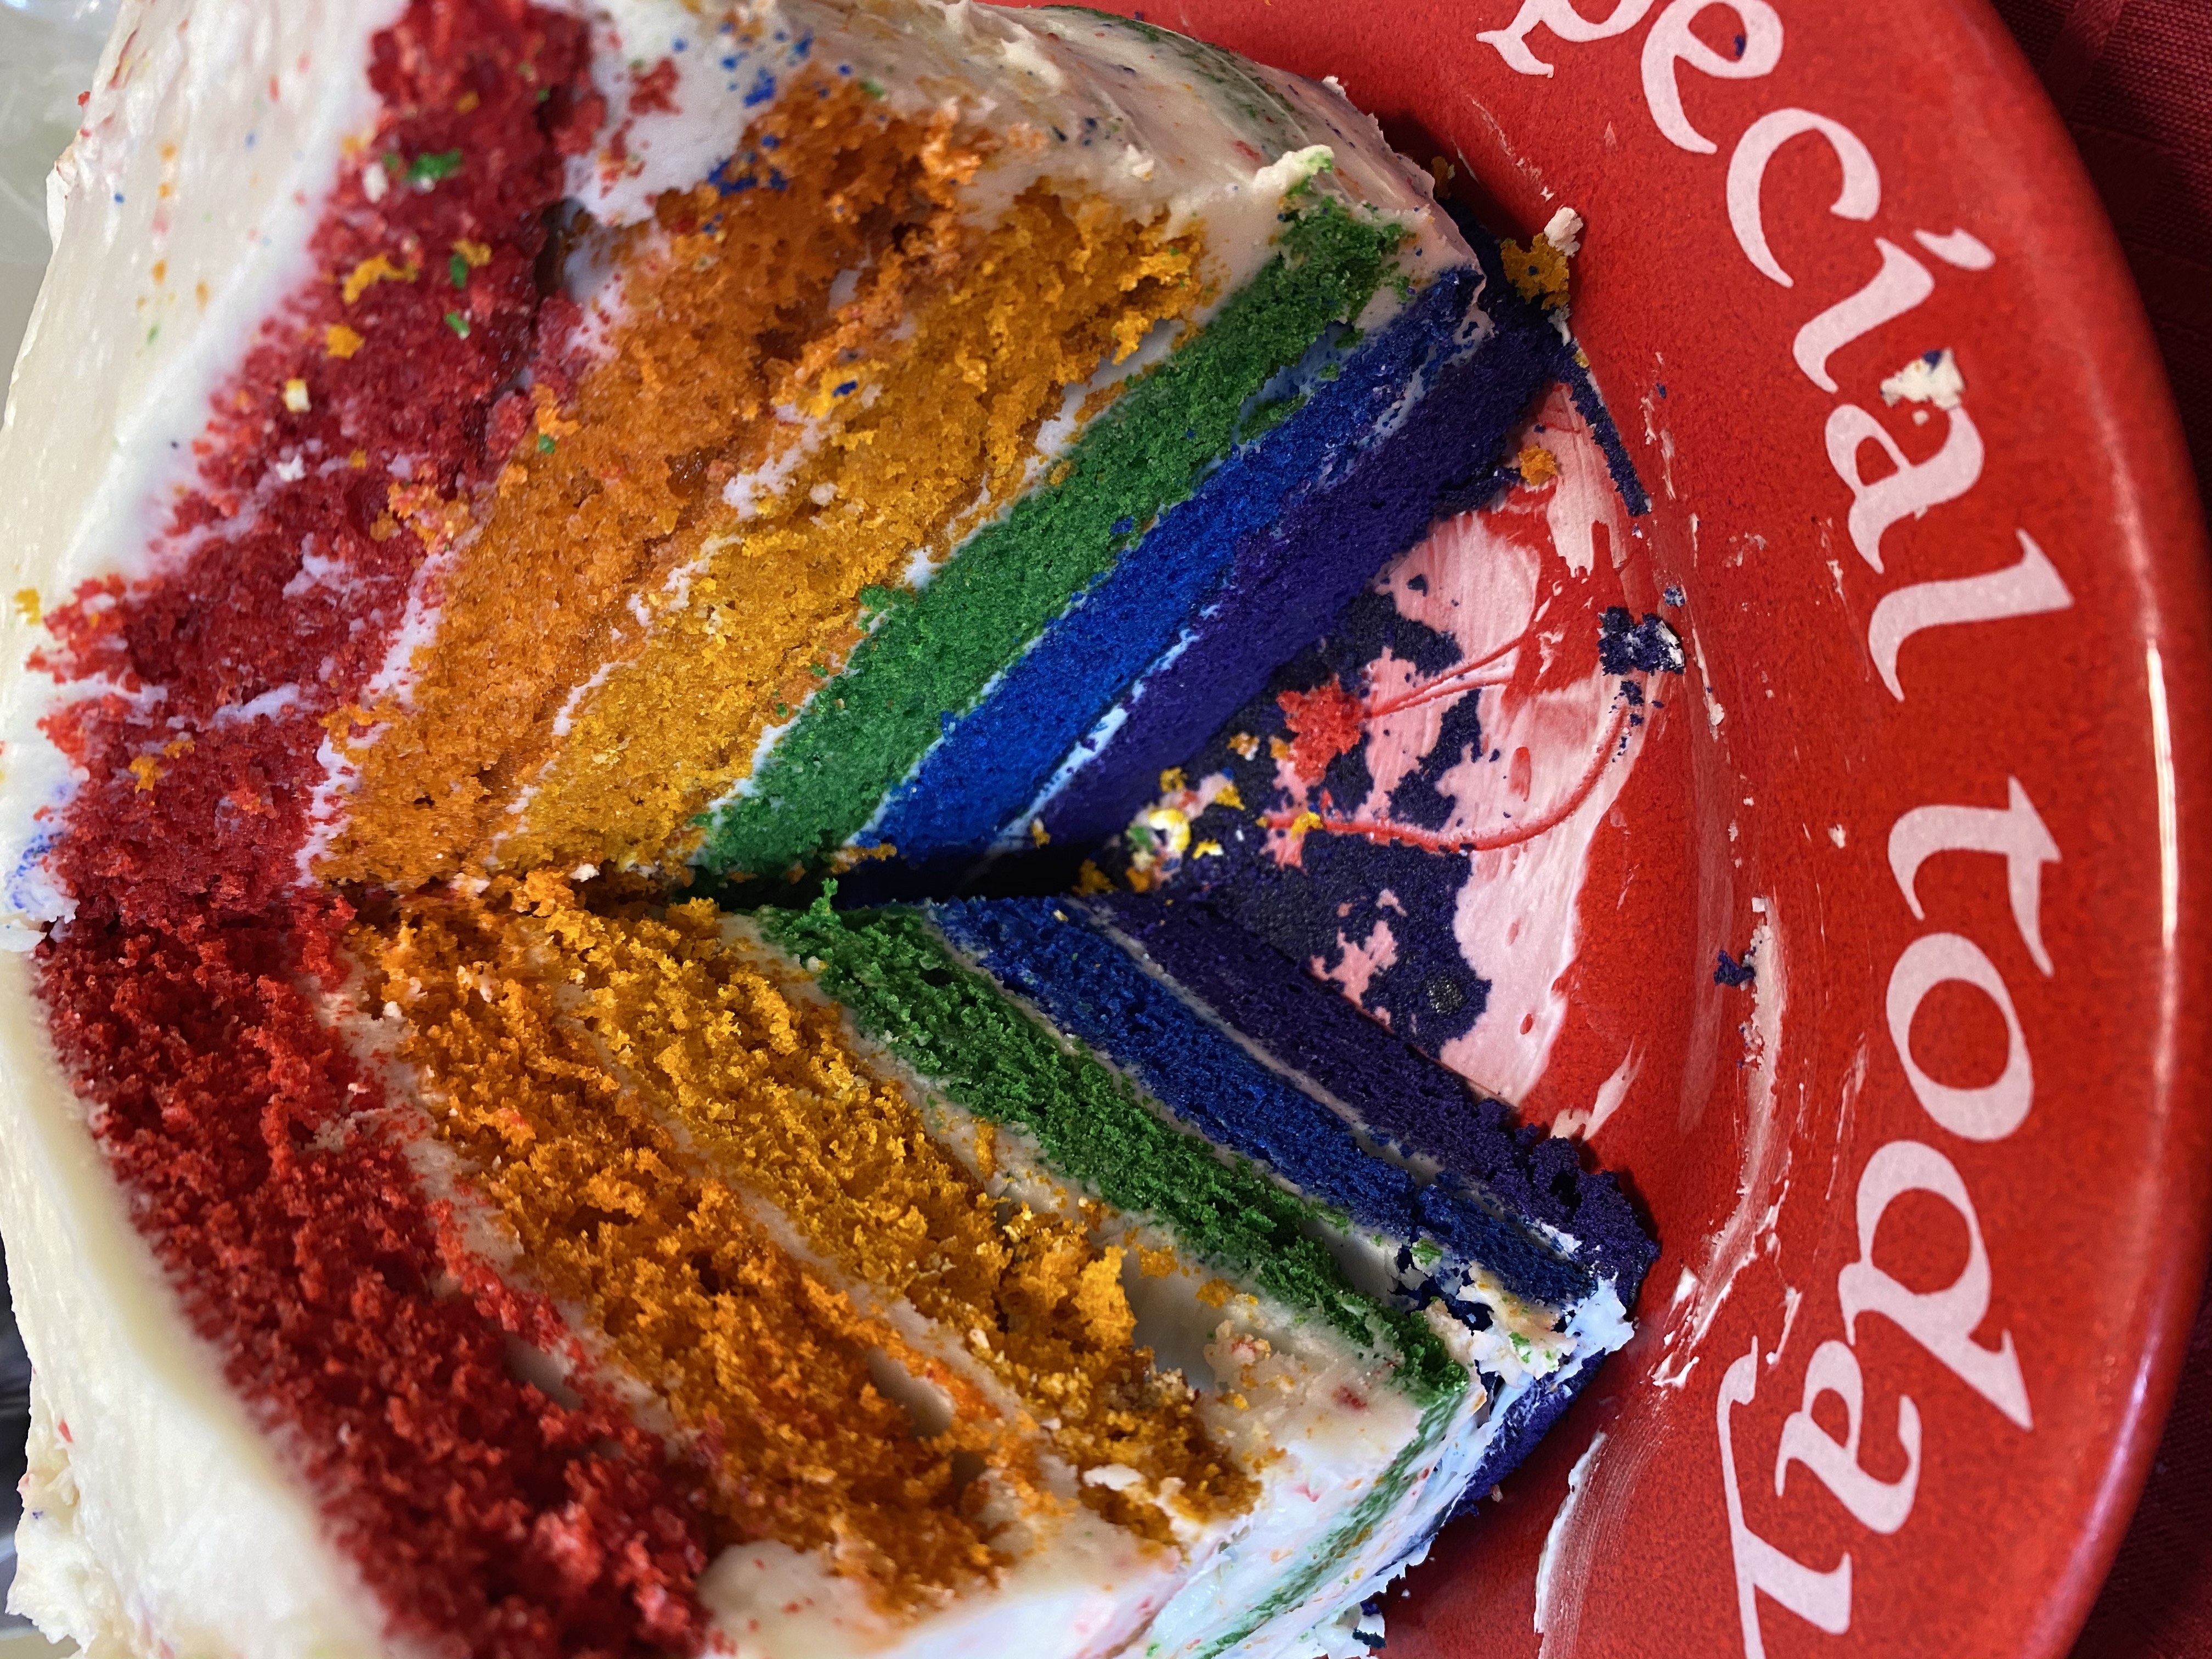
Rainbow Cake
Ingredients:
For the cake
350g self raising flour
3tsp baking powder
350g soft soft unsalted butter
350g caster or light brown caster sugar
6 large free range eggs
1 tablespoon vanilla extract
up to 40ml milk - any kind
For the frosting
100g butter, soft
250g cream cheese, at room temperature
600g icing sugar, sifted
For the cake:
First, preheat your oven to gas mark 4/170 degrees/360 degrees Fahrenheit and prepare your disposable tin foil tins by melting a couple of tbsp of butter in the microwave, and brushing the bottoms and sides of the tins with melted butter. Set aside.
Use a stand mixer if you have one, but if not, don't worry - just get out your biggest bowl and a spatula!
Cream your butter and sugar until combined and light and fluffy - a couple of minutes of beating on high speed in a stand mixer. Then, add eggs one at a time followed by a little of the flour and mix well (with the mixer now on slow) before adding remaining flour, baking powder and vanilla extract.
If your mix is a little thick as mine was, add up to 40ml of - adding a tablespoon at a time and stopping when you get to a consistency that you're happy with.
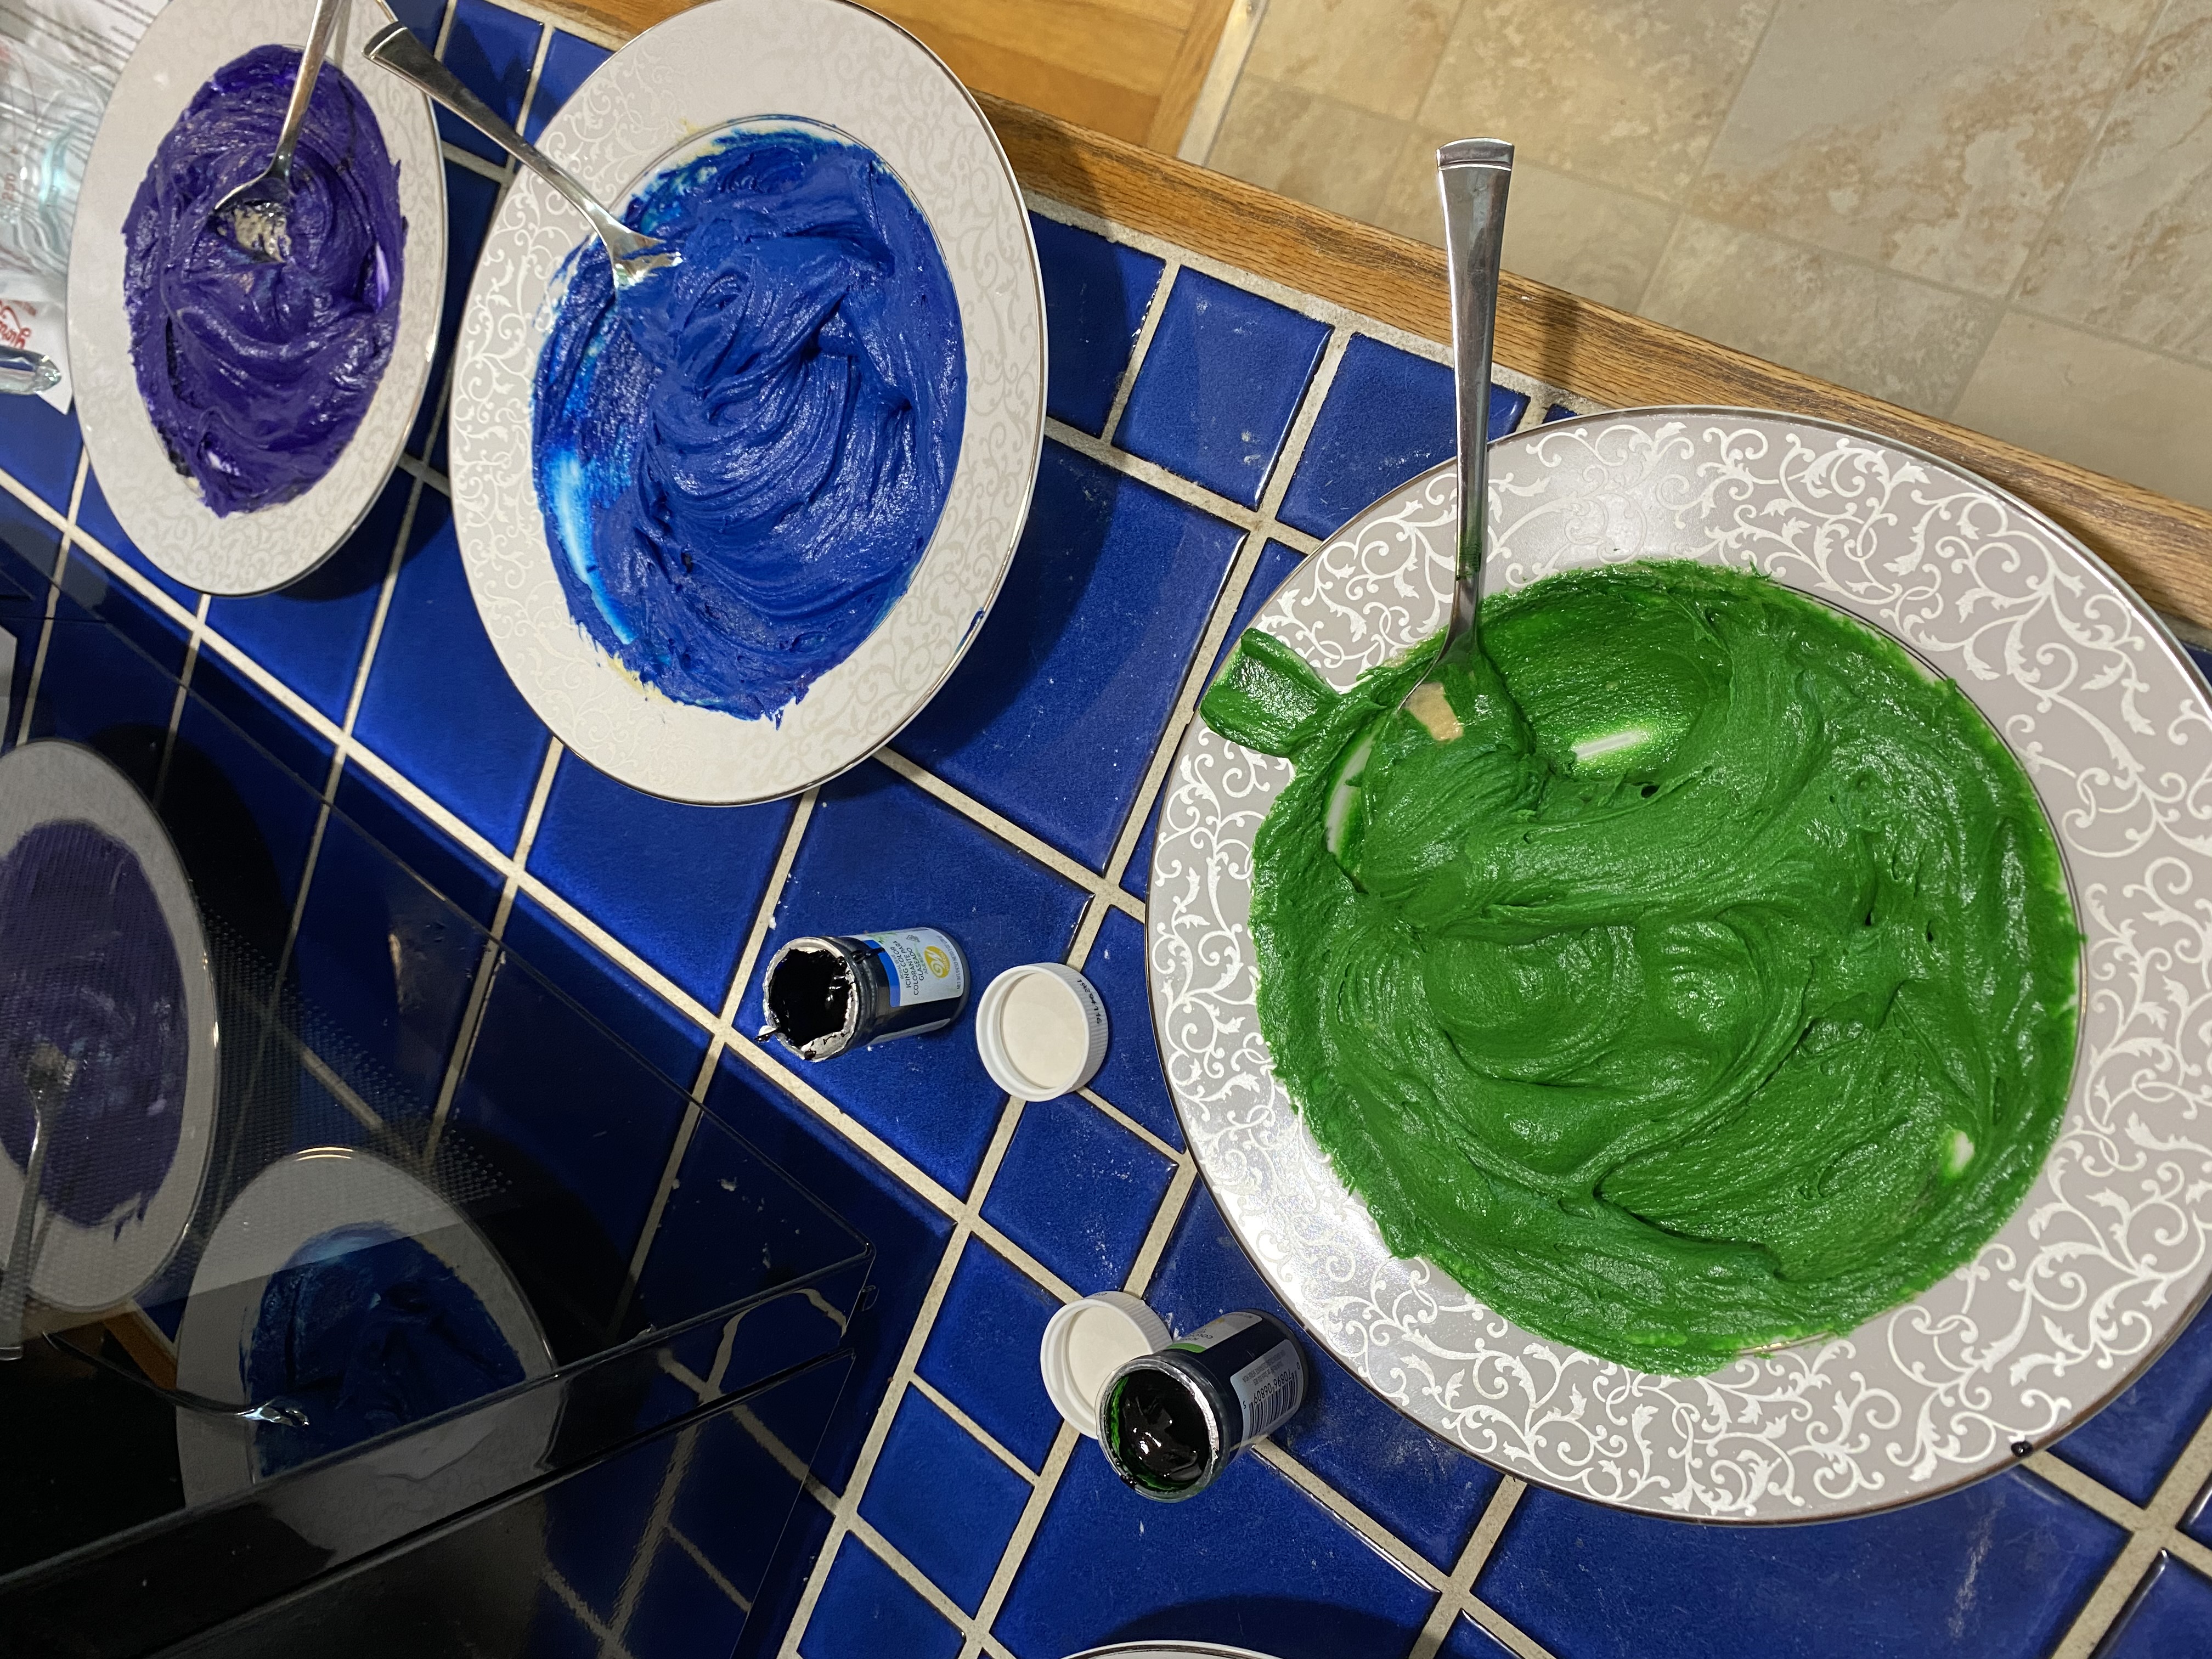
Next, divide your mix into 6 bowls (including your original bowl) to do your colours. I divided my mix by eye, not bothering to weigh my mixture and divide it exactly equally (hey, I'm not on the bake off!).
Drizzle on some of your red gel colour and mix in. Using a silicone spatula works well here. Keep adding and mixing a little until you have the vibrant shade you want. Its actually very hard to go overboard with gel colours, but don't add too much at once or you may get a darker and less vibrant colour than you wanted. I usually add around a teaspoon of each colour. Ten minutes and an aching arm later, you'll have a beautiful rainbow of cake batters!
Use a spatula to scoop all of your batter into a disposable tin (per colour of course - don't mix them up unless you want a tie dye rainbow cake!). Use the back of a spoon to smooth down each cake - this will help them to bake flat.
Pop them into the oven and keep a close eye on them - you don't want them to get browned. I really recommend rotating your cakes so that none of them are on the top shelf of the oven for too long - you don't want domed cakes ideally. I rotated my cakes on the oven shelves throughout the cooking time (mine took around 20 minutes total), taking them out as soon as a skewer to the centre came out clean.
When your cakes are cool, preferably wrap them in clingfilm and pop them into the fridge for a day (or freeze if following my ideal timeline).
For the frosting:
Follow my foolproof method for thick cream cheese frosting.
When all the icing sugar is incorporated, pop the frosting into the fridge to chill. As with the cakes, ideally, do this the day before you want to decorate the cakes.
To assemble
Put a little of the cream cheese frosting on the plate or cake stand you'll be using to adhere the first layer of cake. Pop it onto the centre of the plate, and then frost and put on the next layer. Careful not to use too much frosting, as the weight of the cake will push it out the sides of the cake- just a thinnish layer is best. After the first three layers, put the cake into the fridge for thirty minutes to chill.
Continue stacking the cake, taking care to position the layers as evenly as possible, so that the sides of the cake are as straight as they can be.
Apply a crumb coat of frosting to the cake, filling any gaps between layers. The colours of the cake will be very apparent, but don't worry. Chill for 1 hour.
Apply a second coat of frosting. Chill for 1 hour.
Apply a third coat of frosting. Chill until set.
Found on Kerry Cooks


